Managing all of your social media accounts can be hard. Social media is active 24/7 and trying to find time throughout the day can become an impossible task. What ContentCal has done is create a platform where you can manage all of your social media accounts from the one place and begin scheduling your posts.
There are tools out there that offer this kind of service but ContentCal does a great job of keeping it very simple and easy. ContentCal has a very easy to understand layout, with a calendar layout for the 4 of the biggest social media accounts: Facebook, Twitter, Instagram and Linkedin. There is even an option to create additional custom accounts such as youtube for example.
This tool is a great option not only for managing your own social accounts but also any clients that you have. ContentCal makes it very easy to separate your accounts for clients etc creating multiple calendars for you to work from.
Pricing
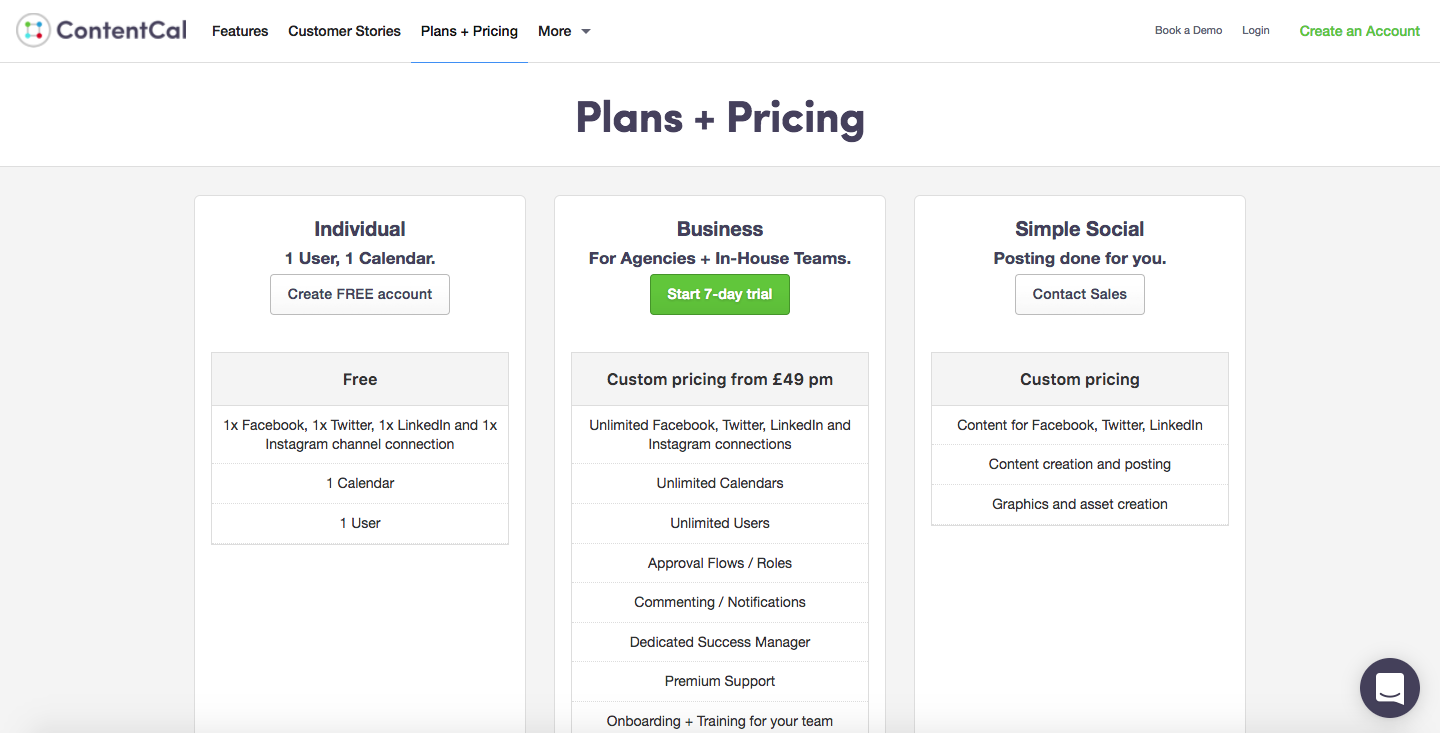
ContentCal has a few different pricing schemes, the entry-level option is completely free which allows you to manage one of each account with one calendar and user. The business option is aimed at agencies and this one has a custom pricing structure with a 7 day free trial. You can create an unlimited number of calendars and users and lots of support features. You can even get the team and ContentCal to handle posting for you. If you want to use that feature then you need to contact their sales team.
Adding your Profiles
Adding the social profiles to ContentCal is very straightforward. To add your account, click on the "Manage Connections" tab.
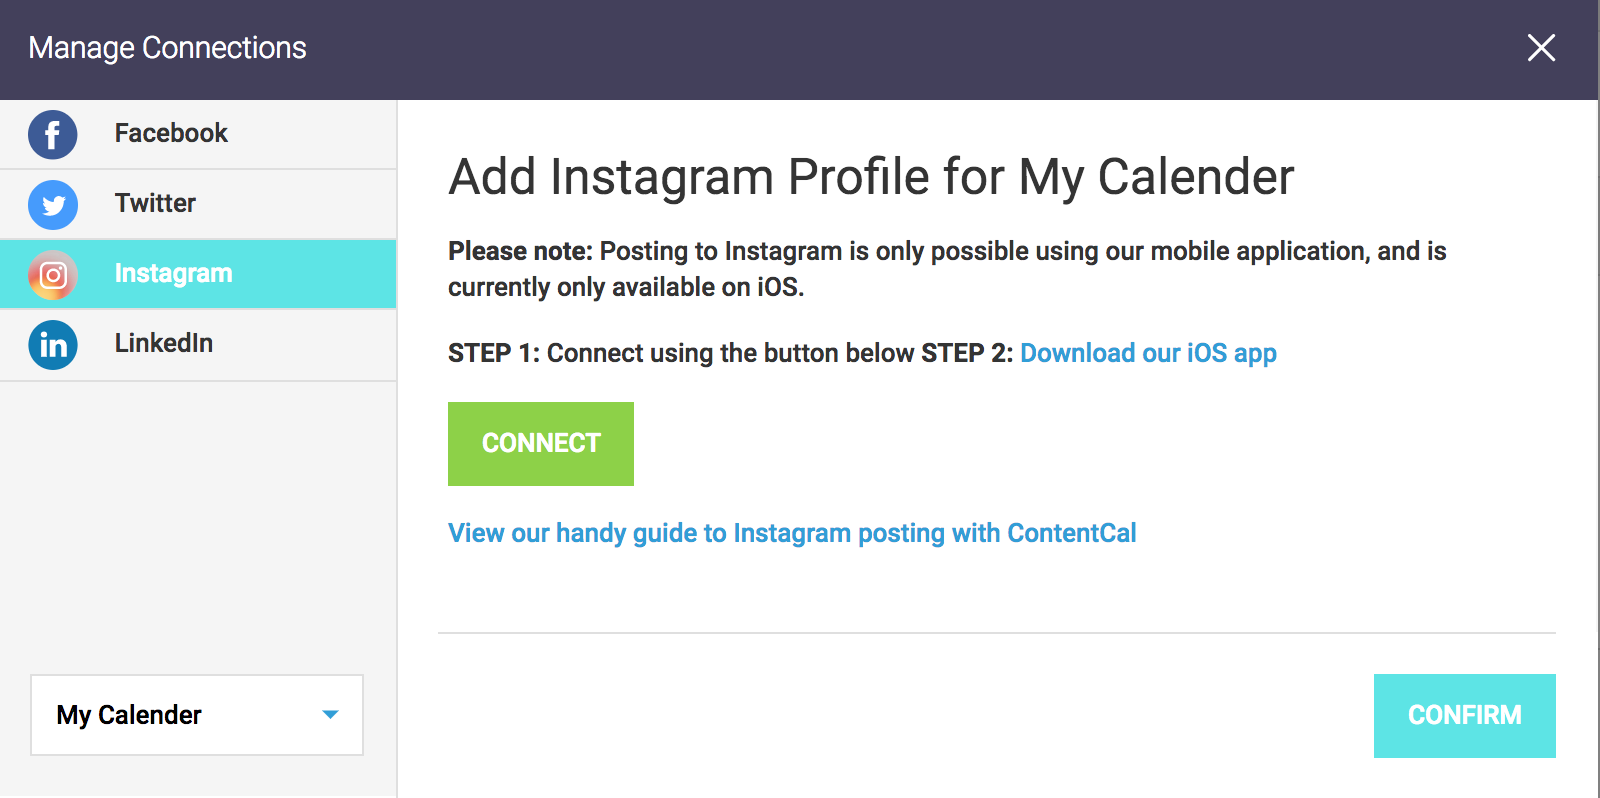
You'll then see a pop-up box like on the screenshot above. All you need to do is click on the "connect" button which directs you to the chosen platforms sign in page. Once you log in, ContentCal will have access to your social account so you can begin posting. (With Instagram the process is a bit different, once you connect you will need to download the ContentCal iOS app to actively post on the account.)
ContentCal can integrate with these four social platforms for auto-publishing etc. However, it also has a custom planning feature so you can keep track of what is being posted your other social platform.
Dashboard
Once you create your account, you'll be given the option to integrate a few of your social accounts. As mentioned previously the 4 main social accounts are Facebook, Twitter, Instagram and LinkedIn. You can skip any that you don't use and the ones you do, you will need to sign in with the accounts login details.
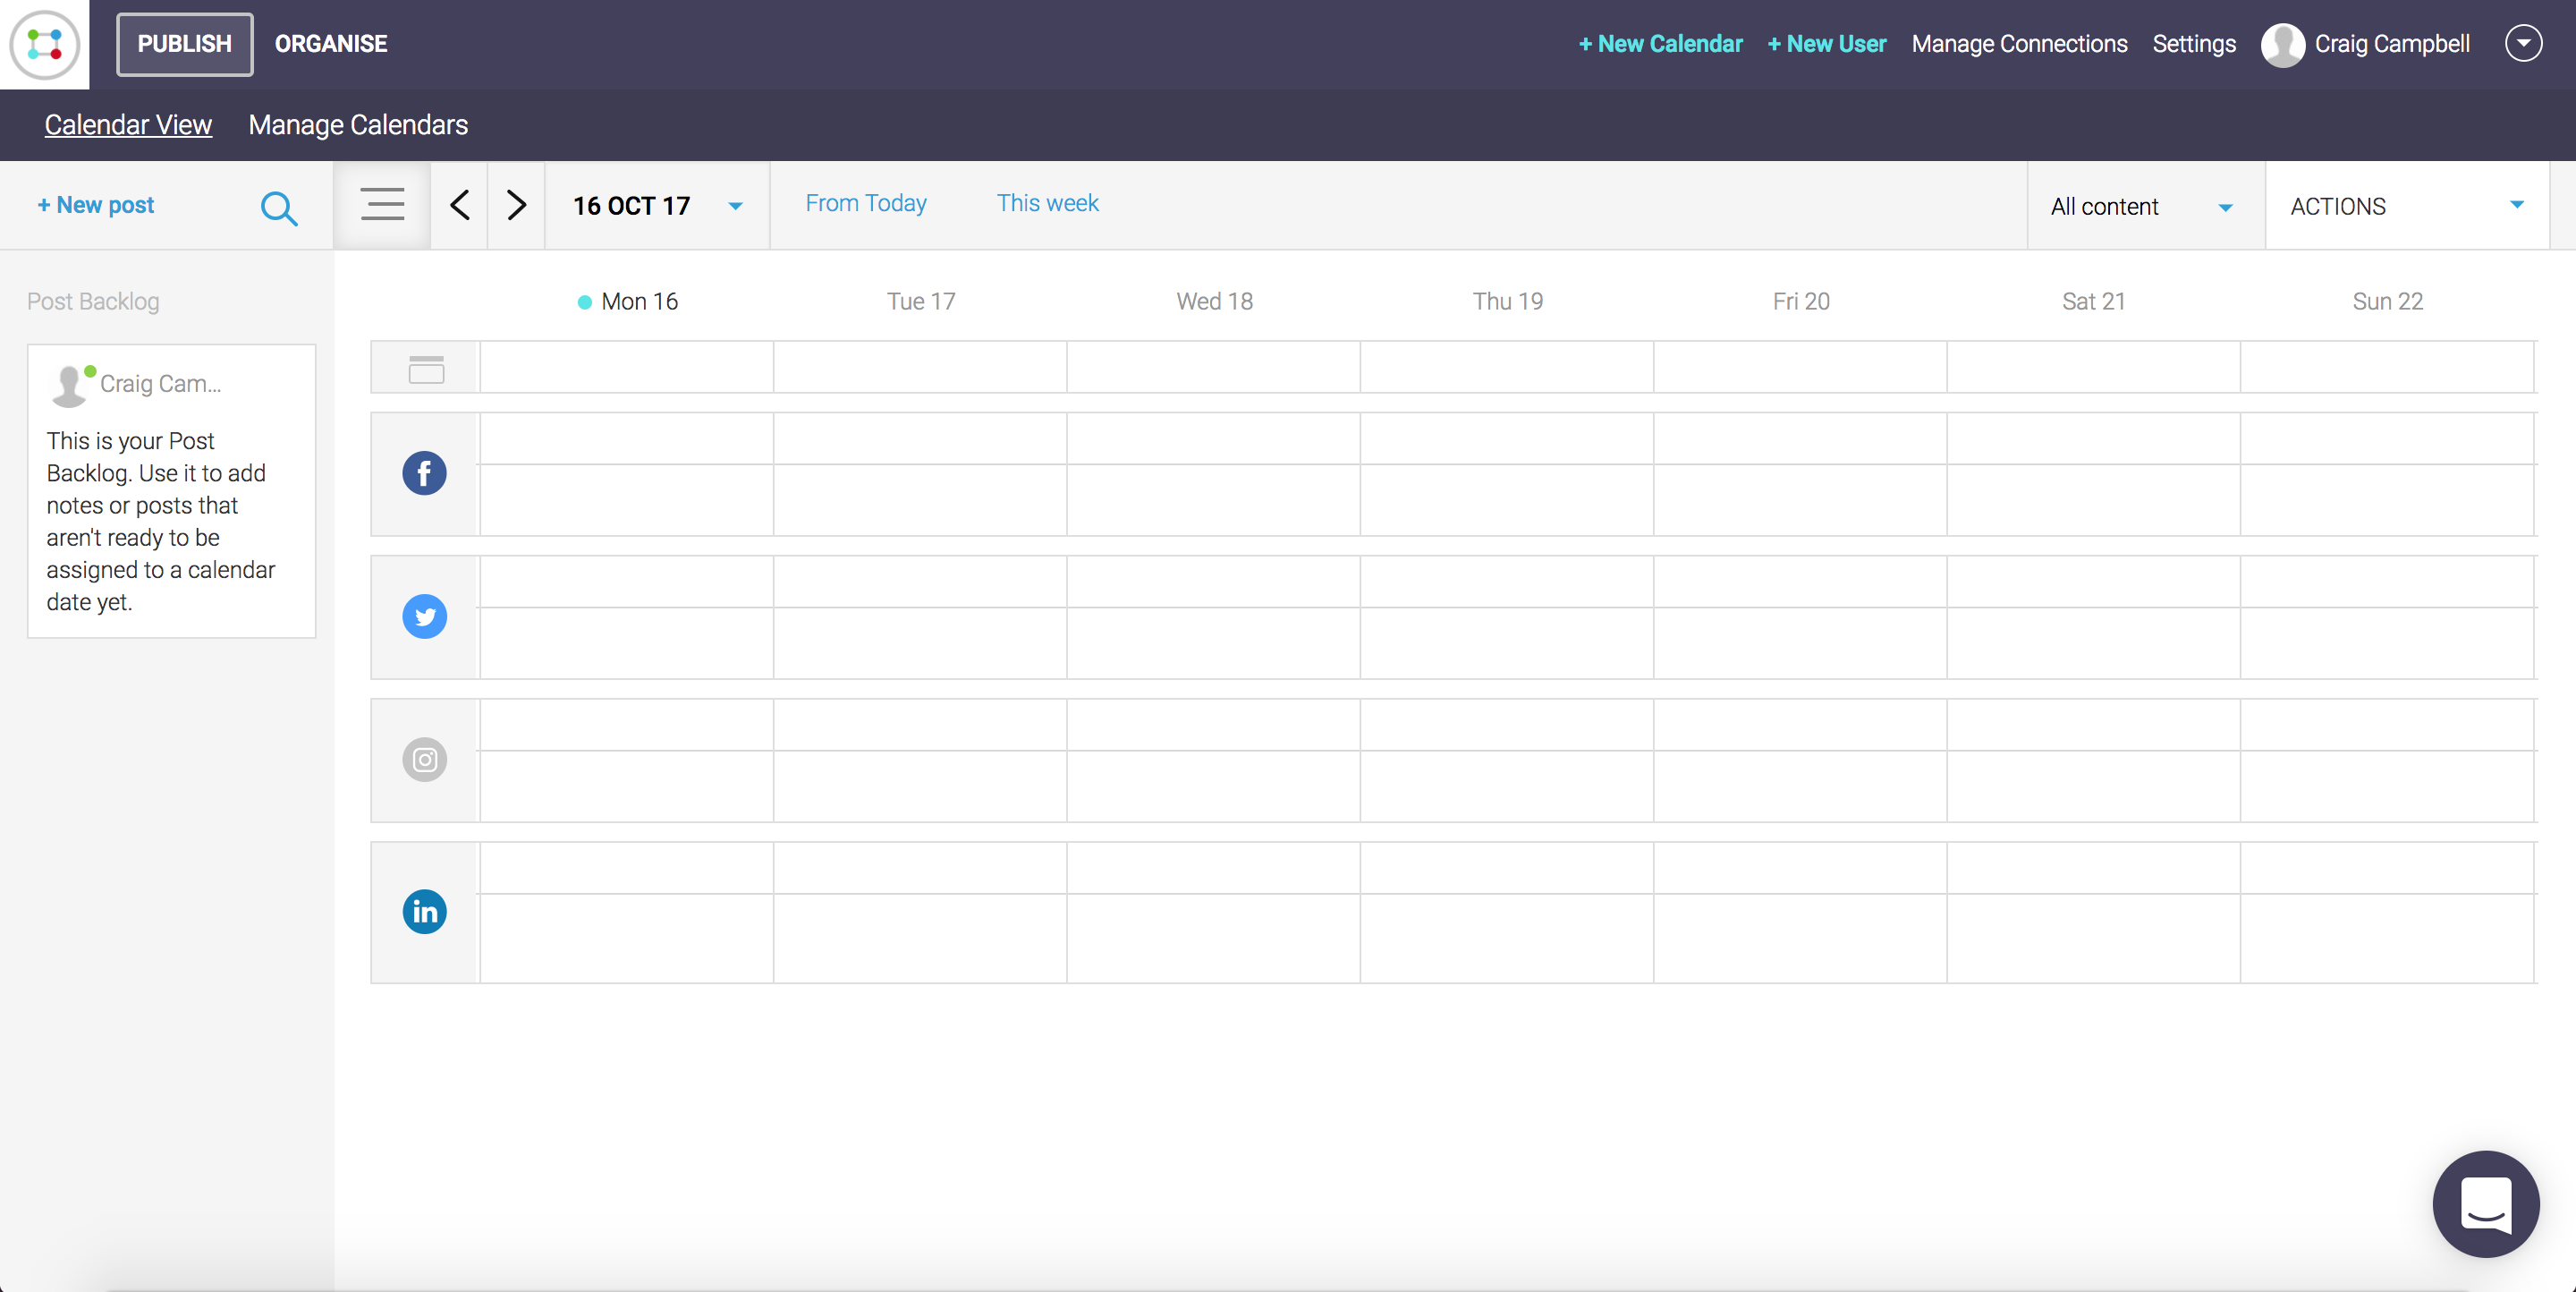
This is the calendar view that you get when you first set up your account. Each day and account has 2 boxes. The first box is for adding a note.
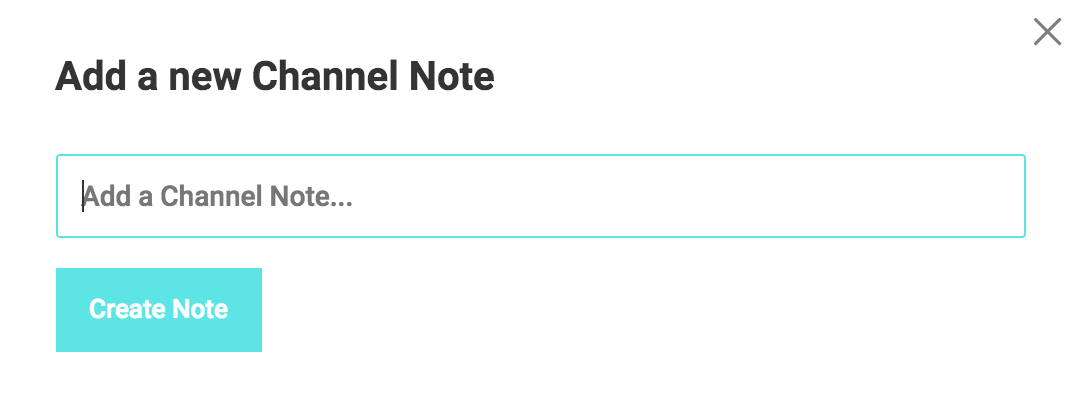
This is handy to help keep track of what kind of content you are going to put on each day. The next box is where you schedule a post.
Scheduling a Post
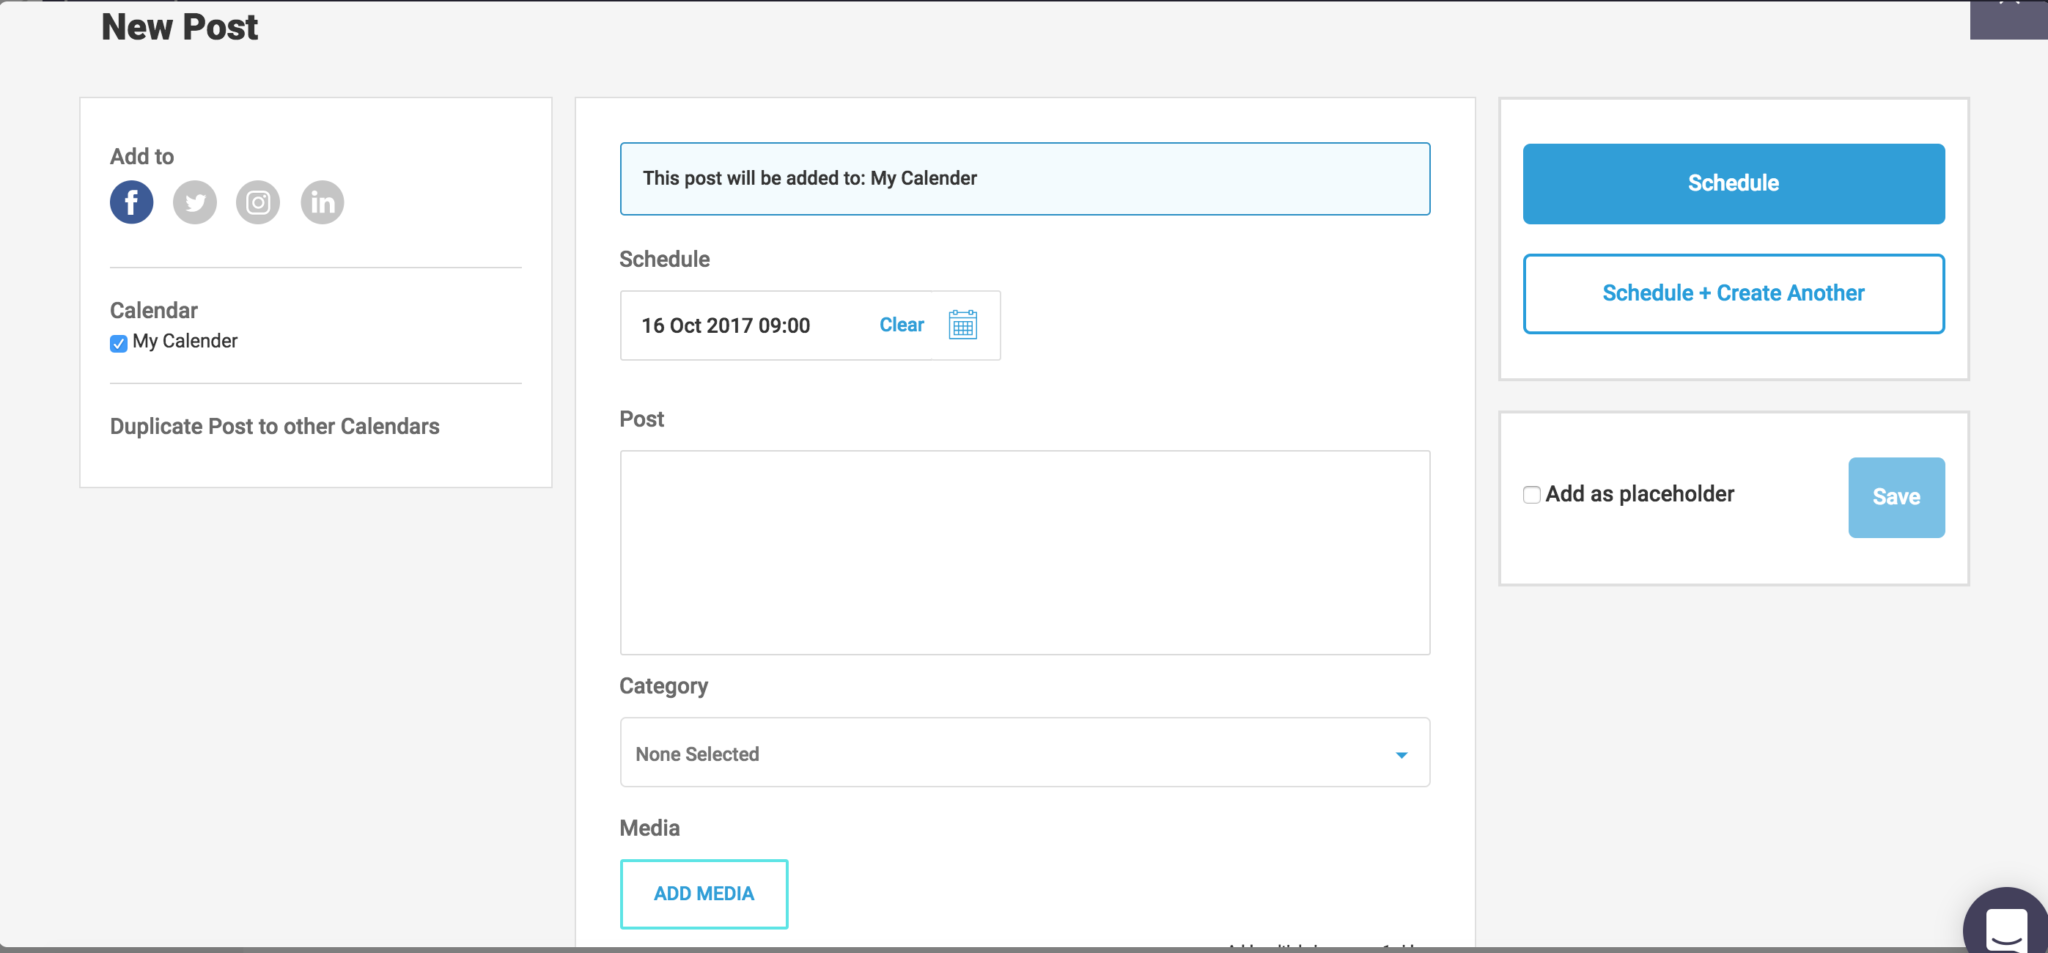
Scheduling a post is quite a straightforward process. On the left-hand side is social accounts that you wish to post to. Now one thing to bear in mind is that each social account is different. A Facebook post for example, may be larger and contain quite a few words, however on Twitter you only have a maximum of 140 characters (soon to be 280) which won't work with a large post you've created for Facebook. You can also choose which calendar(s) you are posting it to, so if you have multiple clients all of their calendars will appear here.
The middle section is where you create your post:
Schedule - This is where you select the date and time that your post will go live. It has a very flexible scheduling time, allowing you to select any time down to the minute.
Post - Adding the post is just like adding it to the original platform itself. You can '@' to tag users on facebook and twitter and it will even bring up suggestions on the facebook posts. When scheduling a post, you don't have to stick to one platform per post, you can select multiple platforms to schedule the post for simultaneously. If you include Twitter in your scheduled post however, there will be a character limit which you should keep in mind.
Category - You can create categories in the 'manage calendar' section.

All of your categories are colour coordinated, this helps make your post types stand out in your calendar if it is pretty full. These are used to help separate your content in any way you want. All you do is add your category name and pick a colour.
Now when adding a post, you'll be able to select any of your created categories.
Media - The media section lets you add images to your posts.
Now you are all set to schedule your post. Just click on one of the two schedule options and that's it, your post will go live at the chosen time.
Conclusion
If your an individual that would like to manage your social accounts from the one place or you're an agency that manages multiple accounts with lots of staff ContentCal is one to try. For a single user, there is no cost involved and if you require more features, you're given a 7-day free trial. ContentCal is very easy to use, having a scheduling system that lets you plan out your social accounts weeks in advance can save you a lot of time so I would highly recommend giving this one a go.
Click Here to give it a go.
Agar Aapko ye Article pasand aaya to aap hamare YouTube Channel ko Subscribe kar sakte hai. Aap hame Twitter aur Facebook par bhi follow kar sakte hai

Post a Comment